Notifications App
Learn how to use the built-in Notifications app to send push notifications to the Hubitat mobile app or other notification devices, speakers, or serivces based on device events
Notifications
The Hubitat Notifications App is a simple way to send push notifications or audio alerts in response to events from devices such as locks (including codes configured with Lock Code Manager), motion or contact sensors, mode changes, and other events.
Receiving push notifications requires the Hubitat Elevation app for Android and iOS or a third-party app like Pushover. Audio notifications require a compatible speaker device integrated into Hubitat, such as Chromecast or Sonos. Multiple devices can be notified, and it is possible to have simultaneous text and text to speech audio notifications. Notifications may also be restricted to certain times, days of the week, modes, or limited to a certain number within a certain timeframe.
Installing the Notifications parent app
-
From the sidebar of your hub, navigate to Automations and select Add Automation or Add Built-In Automation:
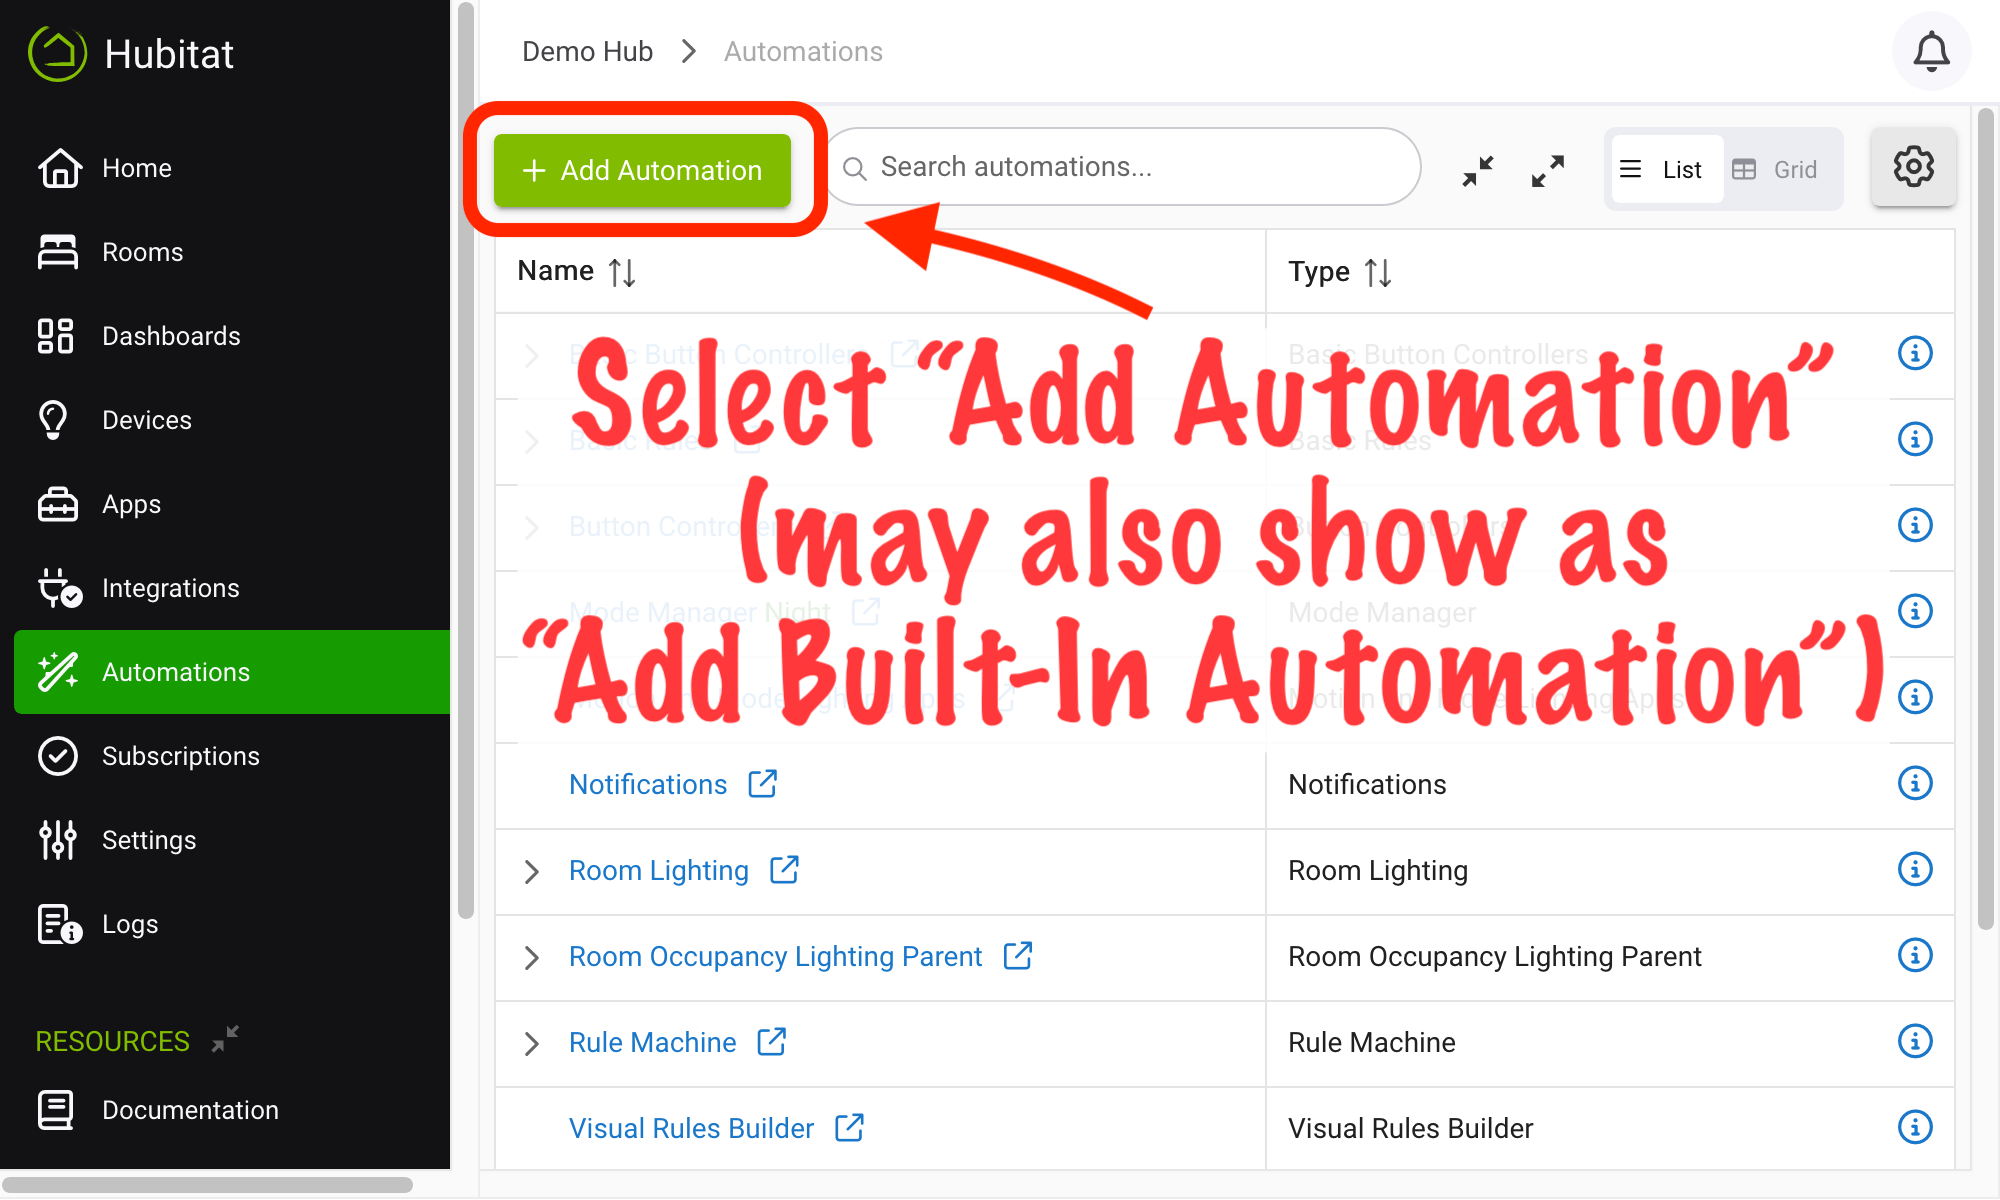
-
Choose the Notifications app from the list of Elevation Built-In Apps
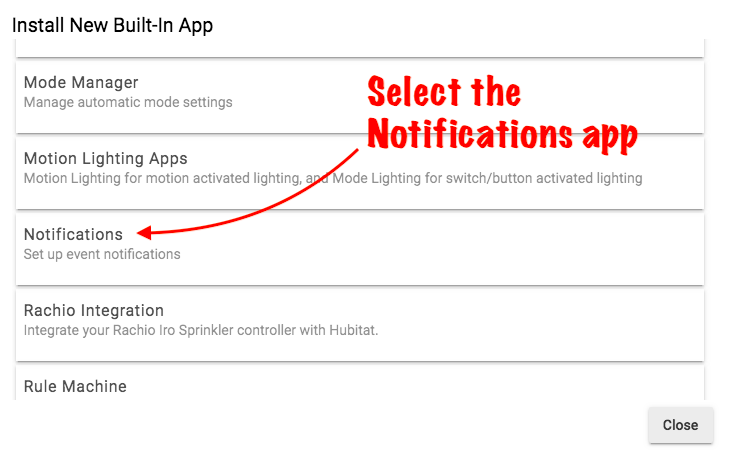
Creating and configuring Notifier child apps
-
Select Create New Notifier to start configuration of a Notifier "child app."
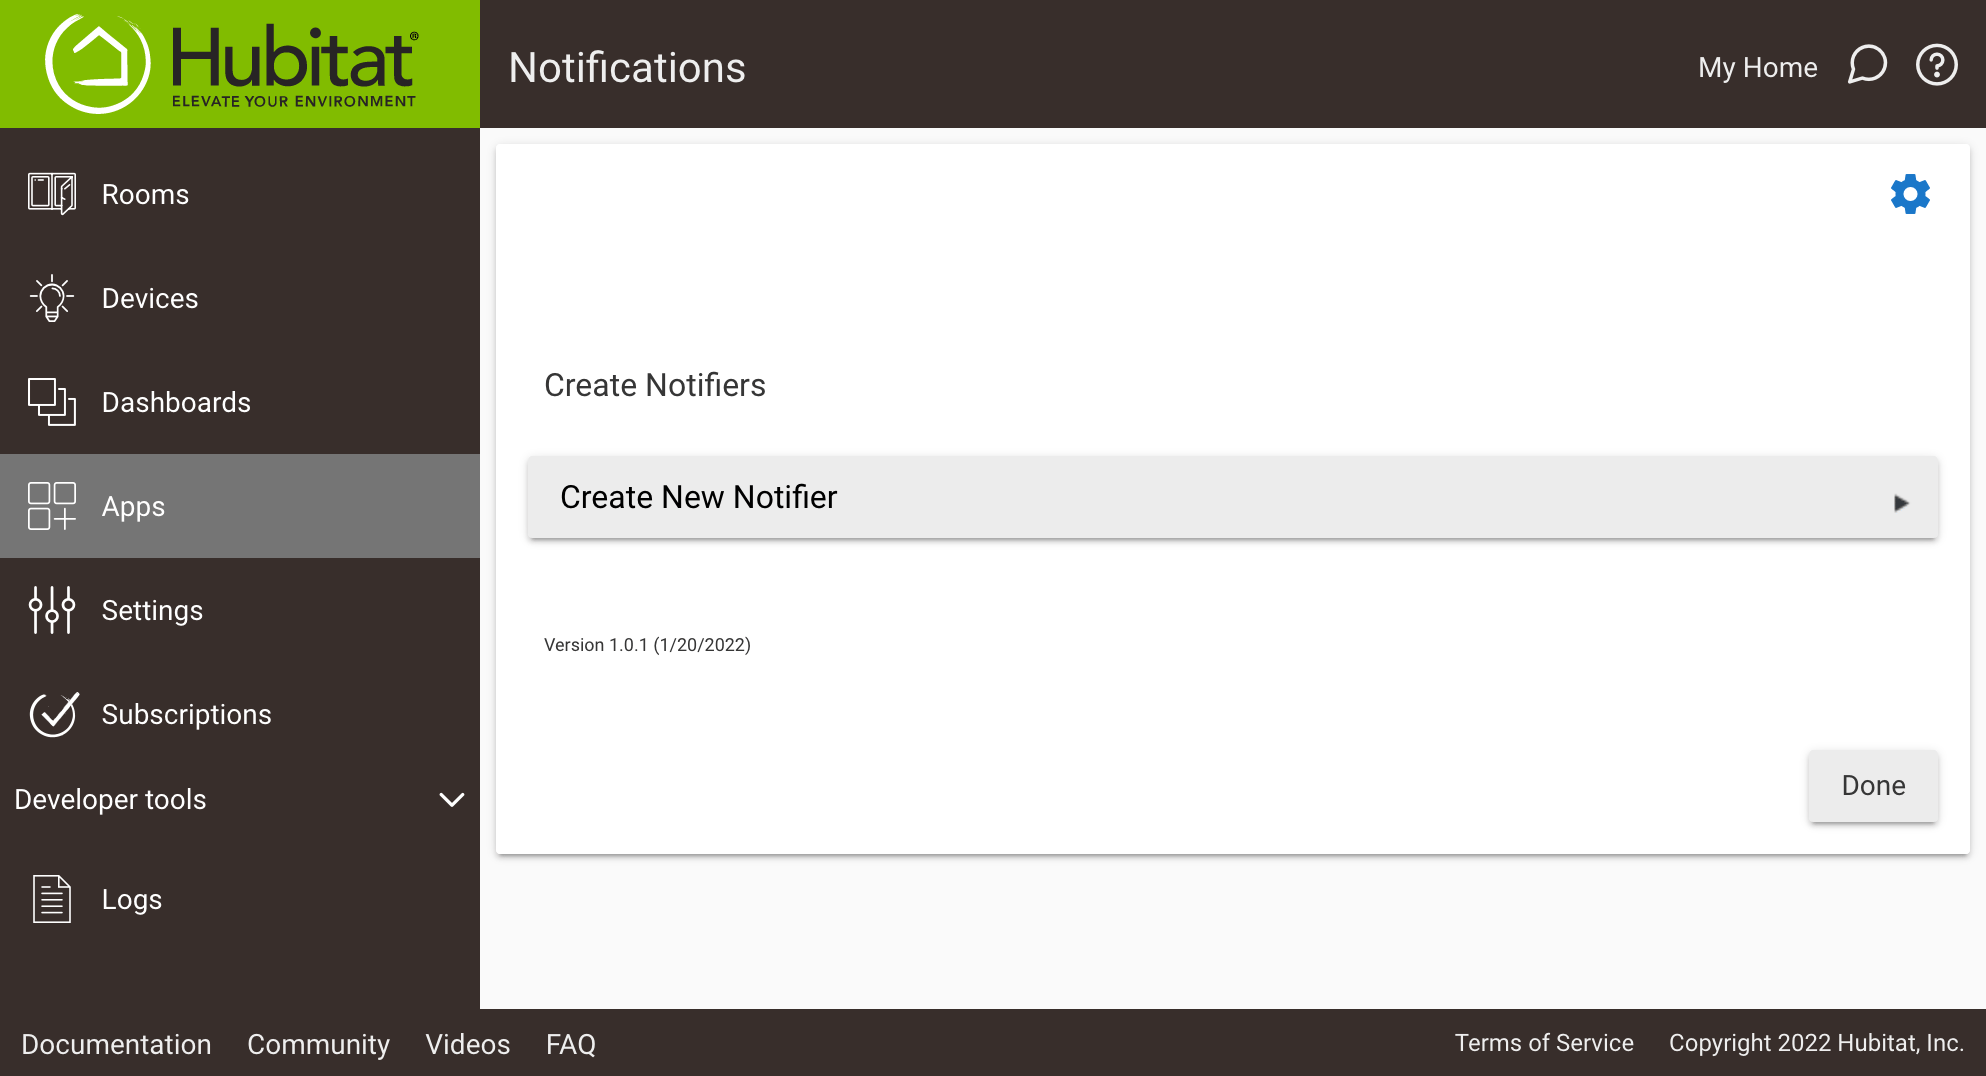
-
Name your Notifier child app.
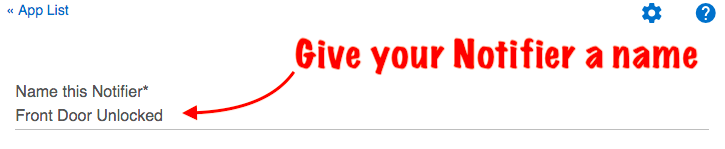
-
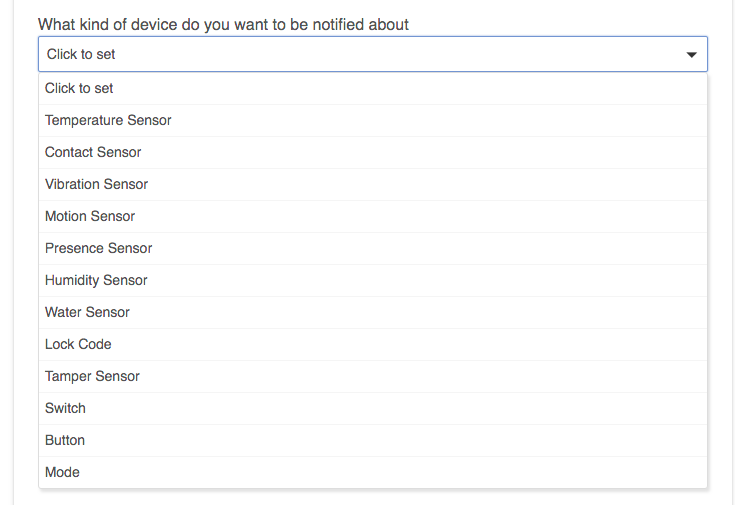
Select the type of device you want to monitor for notifications.
-
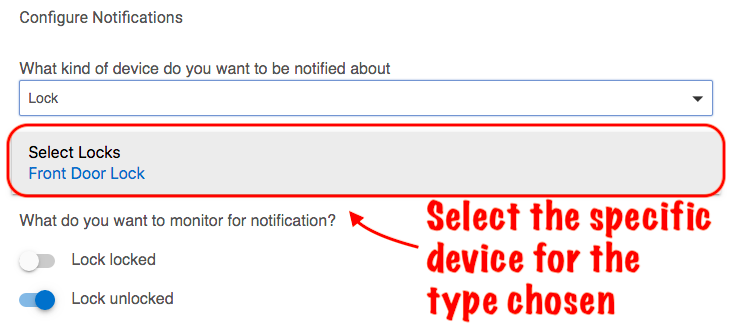
Choose the specific devices to monitor for your Notifier
-
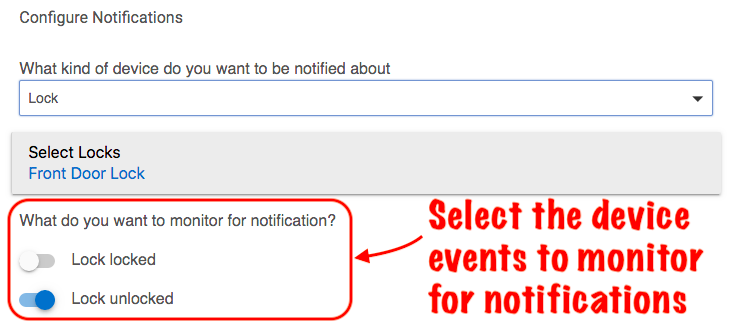
Select which events you want to monitor for your notifications
-
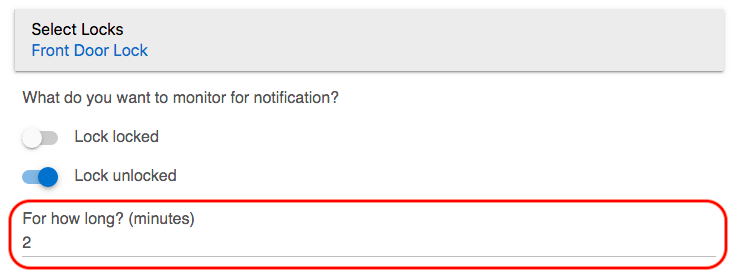
Optinoally, choose for how long the condition resulting from the event must remain true before a notification is sent. (Note that this option is not available for all notification event types, and you will not see the For how long? option in this case.)
- Example: If a door is unlocked, should the notification be sent immediately or should it be delayed by a specified number of minutes?
- NOTE: If the condition you are monitoring becomes false before the specified time has elapsed, such as the lock being once again locked before the 2 minute wait time has been reached as in the example below, then no notification will be sent until the condition again becomes and remains true for the number of minutes you define.
-
Optionally, specify the maximum frequency with which would like to be notified about an event. Toggle the switch for Only once per day to limit notifications to one per a single 24 hour period, or you can limit the notifications to once within a specified number of minutes. This option can be useful to receive fewer notifications for events that might happen frequently (e.g., some temperature sensors).

TIP: Do not confuse the For how long? option with the How frequently do you want to be notified? option. The former is available for certain events and specifies the amount of time a condition (state) resulting from an event must remain true before a notification is sent. The latter is avaialble for any event and restricts the maximum number of notifications that this particular Notifier instance will send in the specified window of time.
Selecting multiple devices
Most options let you choose multiple devices. For example, if you choose to be notified about switches, you can select multiple switch devices:
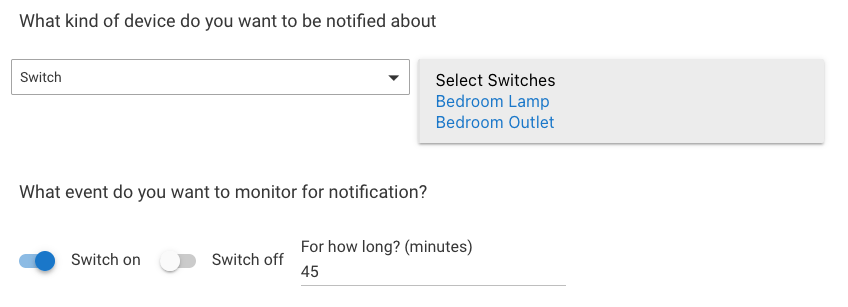
Notifier does not keep track of each selected device individually. Rather, the notification will be sent when any selected device meets your criteria. For example, in the above configuration, if "Bedroom Lamp" turns on and stays on for 30 minutes, then "Bedroom Outlet" turns on, you will receive a notification at 45 minutes. Further, any varaibles you use in text or audio notification (see below) will refer to the most recent "triggering" device, which may be different from the one causing the notification.
If you instead want each device to be tracked on its own, create separate Notifier instances for each device.
Configure notification types
Choose the type of notification you want. You may send audio, text notifications via an app such as the Hubitat Elevation app. Multiple users may be notified, and it is possible to have simultaneous text, and text to speech audio notifications.
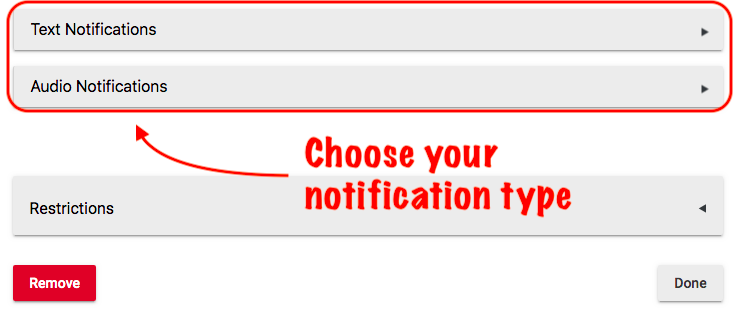
Text Notifications
-
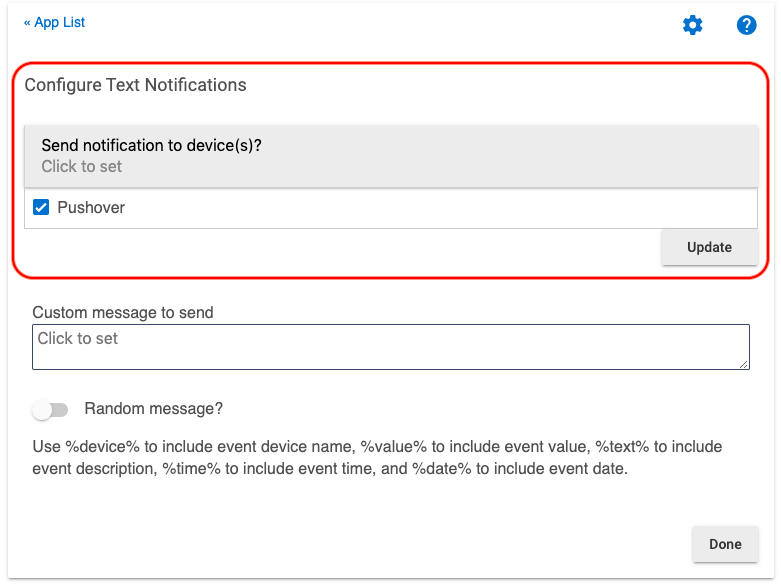
For text notifications, choose a device such as the Hubitat Elevation app, Pushover, Twilio, etc.
-
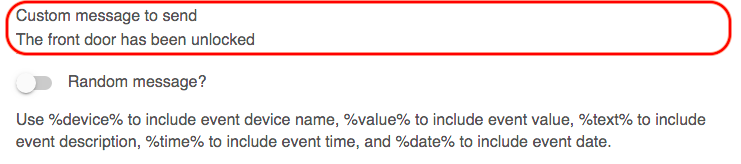
You may enter custom messages to include in your text notification.
-
You may also add
%device%,%value%,%text%,%time%, and%date%to include these built-in Notifier variables in the message. These refer to the name of the “triggering” device, the event/attribute name (e.g., “switch”), the time of the event, and the date of the event.- Example: If you simply added %device% %value to the Custom message to send field for the front door lock used in the previous example, you would see Front Door Lock Unlocked in the text notification.
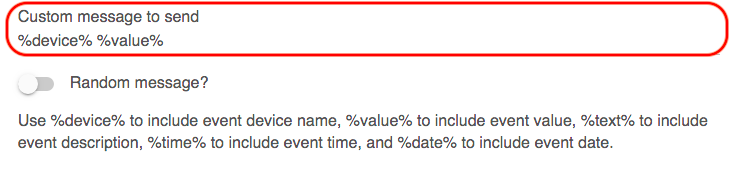
- Example: If you simply added %device% %value to the Custom message to send field for the front door lock used in the previous example, you would see Front Door Lock Unlocked in the text notification.
-
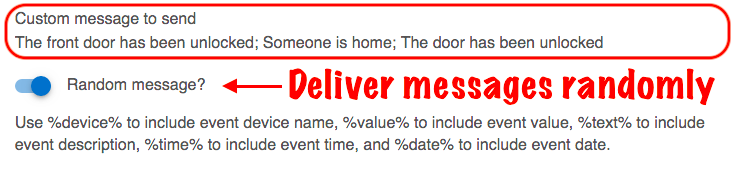
If you want to have more than one possible text message, separate them with a semicolon
;and enable the Random message? option. A random message will be selected from among the specified messages each time.
Audio Notifications
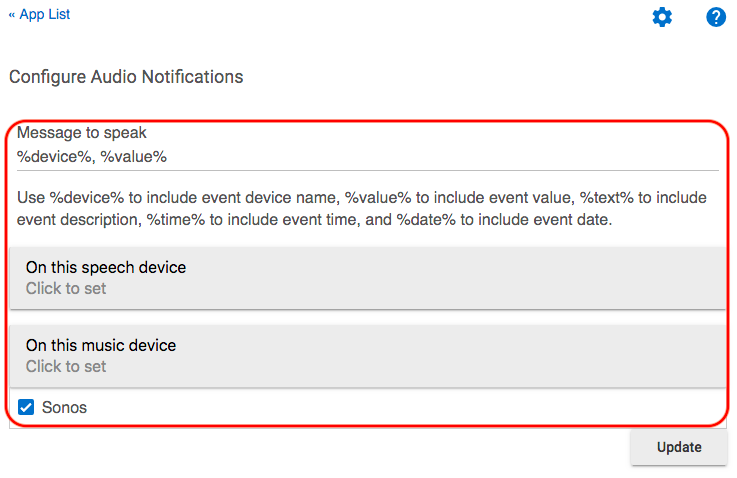
- Audio notifications may be delivered via a supported speech device such as Google Home (via the Chromecast integration), or on a supported music device such as Sonos. Audio notification setup is similar to text notifications. You may also add
%device%,%value%,%text%,%time%, and%date%to include these variables in the audio notification. For example, if you simply added %device% %value to the Message to speak field for the front door lock used in the previous example, you would hear Front Door Lock Unlocked in your audio notification.- NOTE: When using this method with text to speech devices, you may wish to add to add a comma between multiple variables for more natural-sounding intonation.
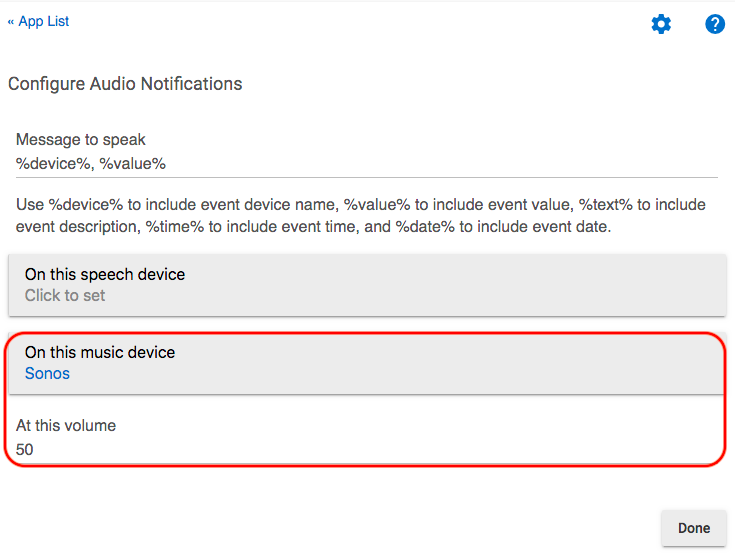
- For music devices, it is also possible to set the volume level for messages
- NOTE: When using this method with text to speech devices, you may wish to add to add a comma between multiple variables for more natural-sounding intonation.
Restrictions
-
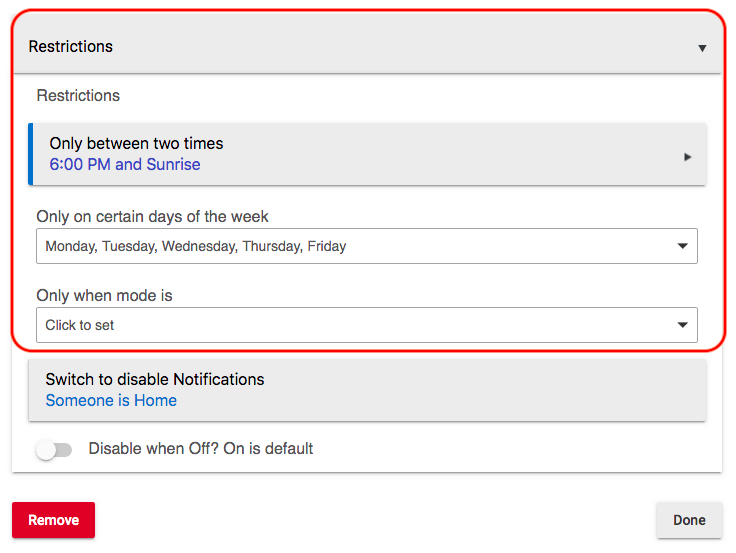
Notifications may be restricted to certain times, days of the week and modes.
-
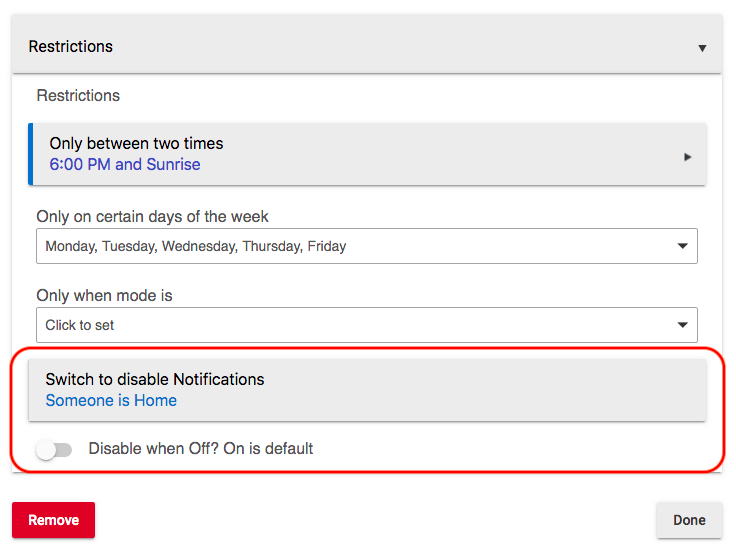
You may set a switch to disable notifications.
- Example: You may not wish to receive notifications about your front door being unlocked while you are in your home, therefore you could turn on a switch to prevent this from occurring. In the example below, this could be accomplished by creating a Rule Machine rule to enable a switch when a presence devices is active, and disable the switch when presence is no longer detected.
- Example: You may not wish to receive notifications about your front door being unlocked while you are in your home, therefore you could turn on a switch to prevent this from occurring. In the example below, this could be accomplished by creating a Rule Machine rule to enable a switch when a presence devices is active, and disable the switch when presence is no longer detected.